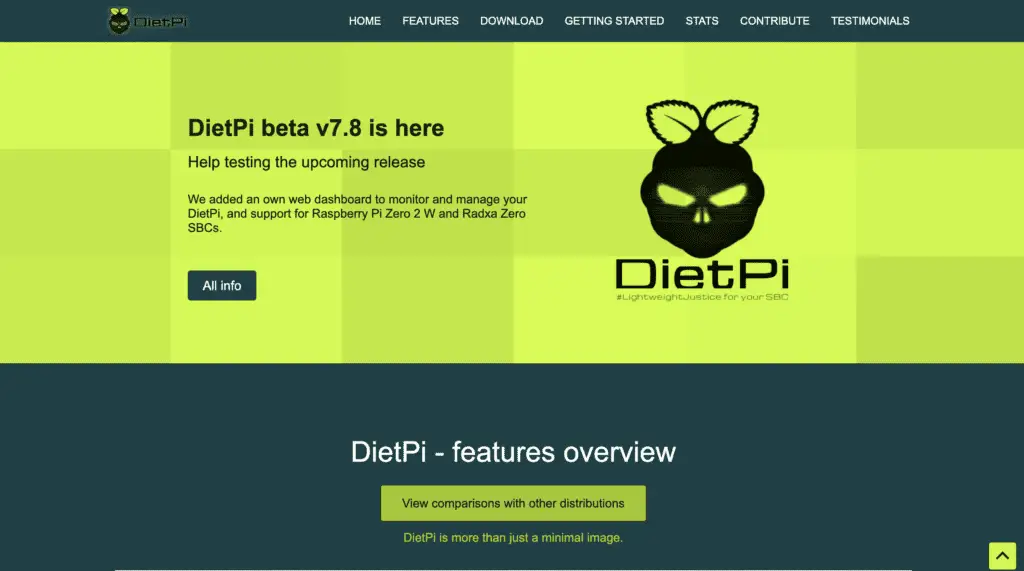
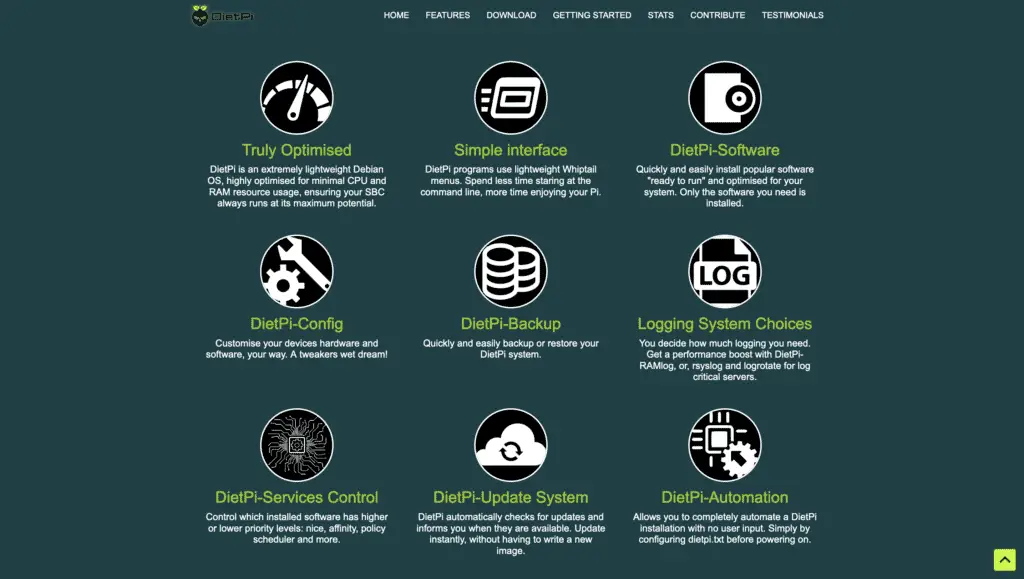
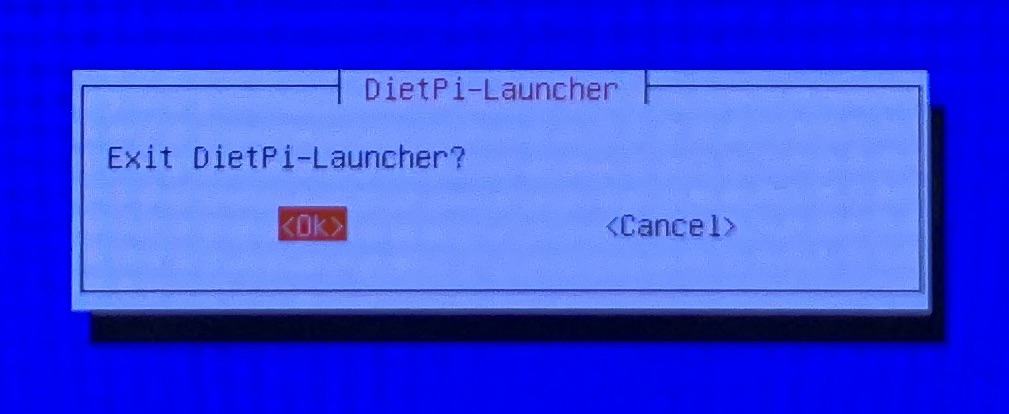
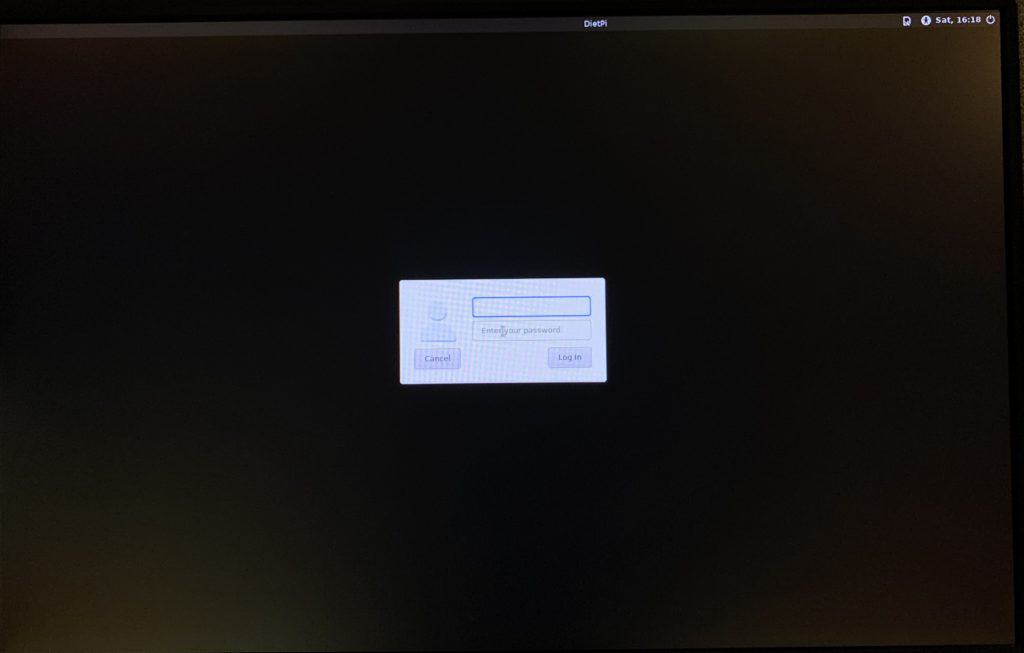
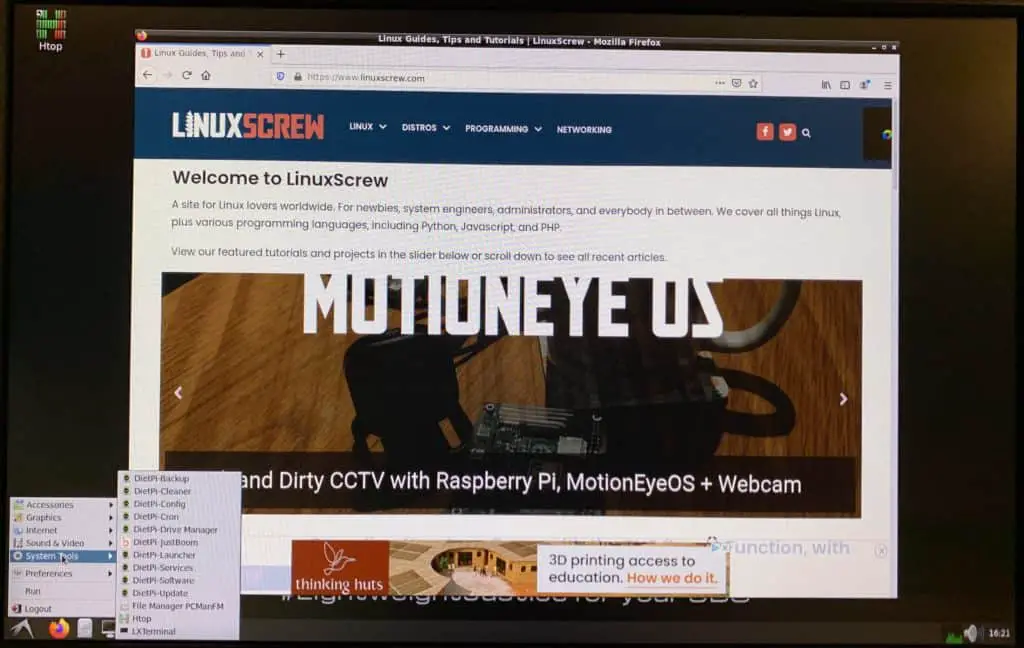
Here’s a quick screenshot walk-through of the installation of DietPi OS for Raspberry Pi. DietPi is a minimalist but fully featured alternative to Raspberry Pi OS. I’ve run through the install process so that you can see how everything looks before trying it yourself.
Previously, we covered TwisterOS – another Raspberry Pi targetted Linux distribution which aims to be super user friendly and includes a lot of extra software – check it out if you don’t think the minimalist DietPi is for you.
Download & Install Diet-Pi OS
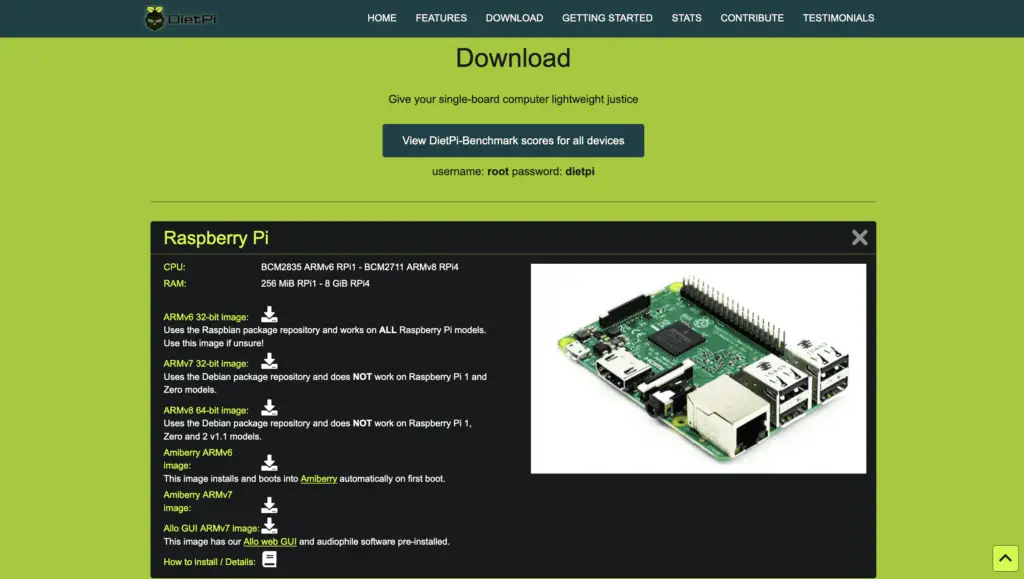
First up, downloading and installing DietPi OS for your Raspberry Pi.
Head on over to:
…and follow the download links to begin.
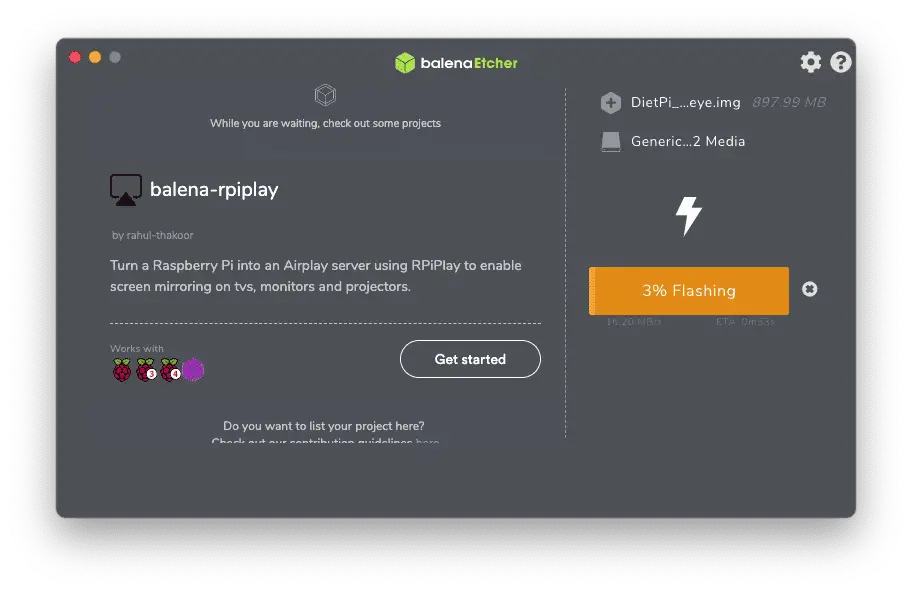
Balena Etcher is the weapon-of-choice for writing images to SD cards, it can be found at:
…download it, run it, and use it to write the DietPi OS installation image to an SD card.
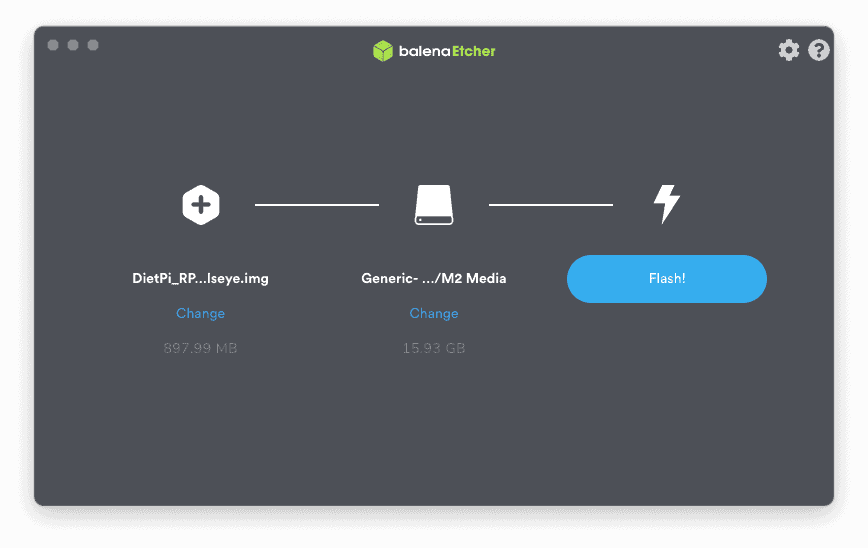
Select the disk image file and storage device you wish to write it to (and overwrite all data on!), then click ‘Flash!’.
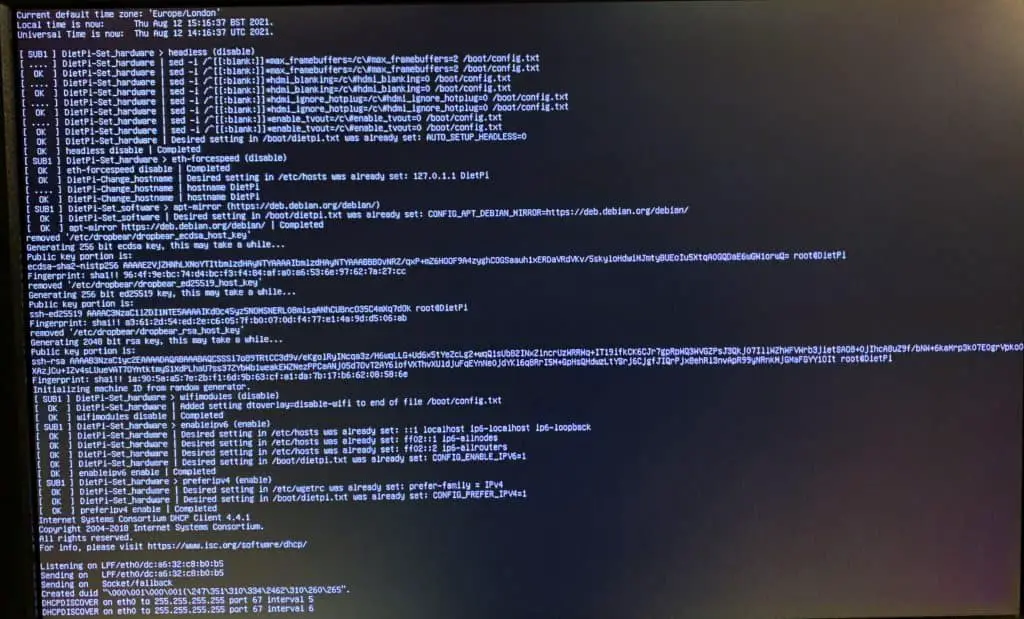
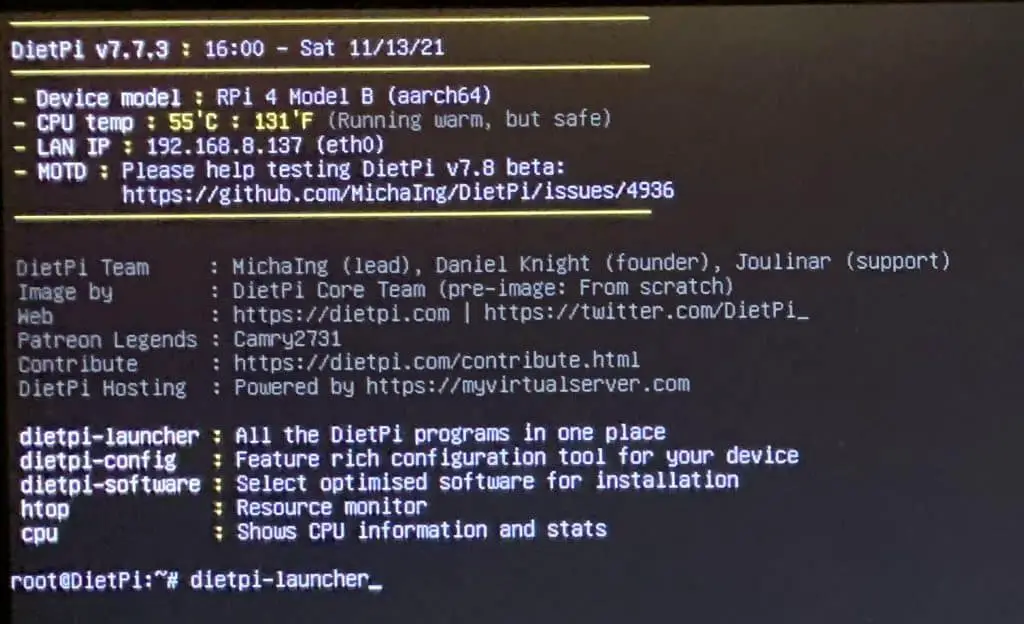
Side Note: I really, really like that the DietPi login screen shows you the IP address you can use to access the Pi remotely – saves time!
Configuring DietPi OS
DietPi OS is now installed – the next step is to get it configured and get some software installed.
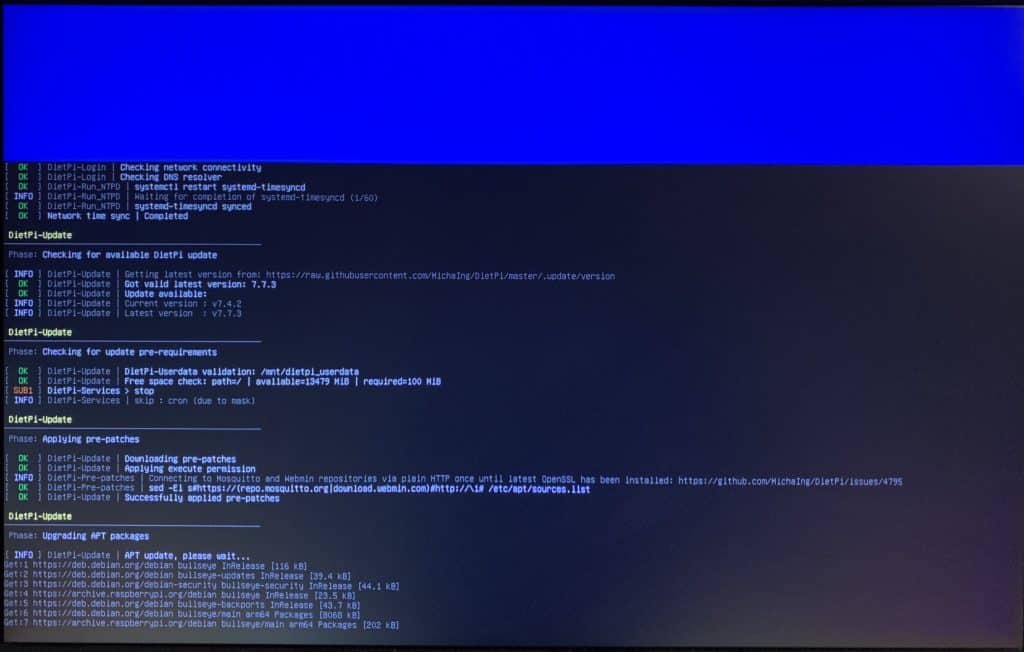
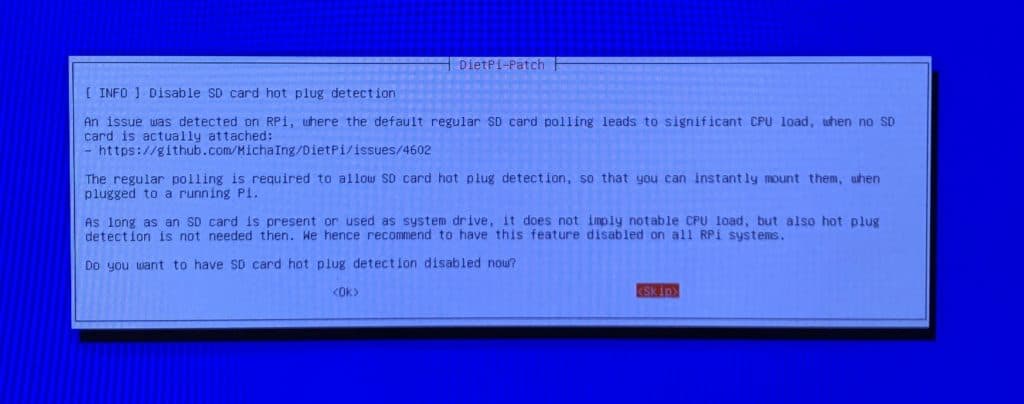
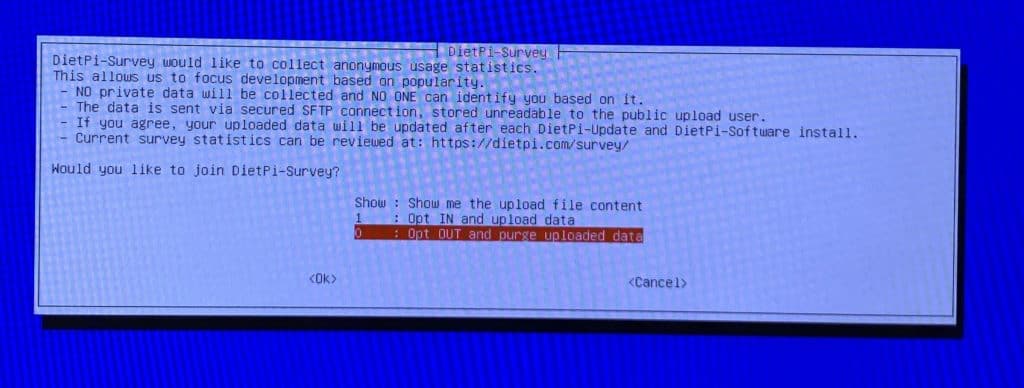
On first login, DietPi will automatically update if there is an internet connection. Again, I like this, as it’s the first thing you should be doing on a fresh install of any OS.

The serial console can be used to remotely access your Pi via the GPIO pins. If you aren’t using it, it can be disabled.
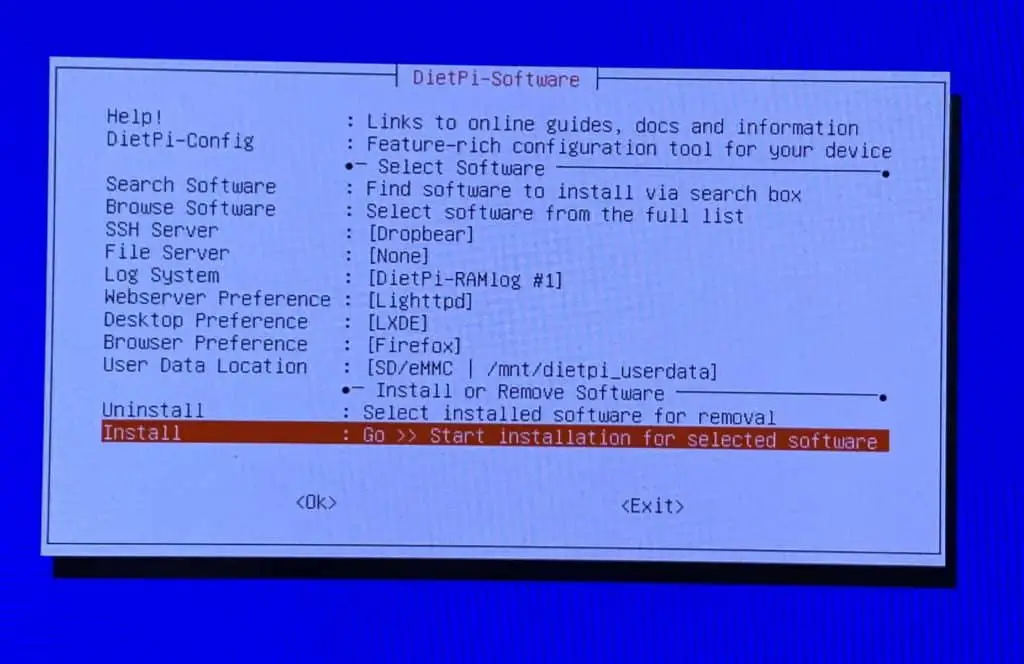
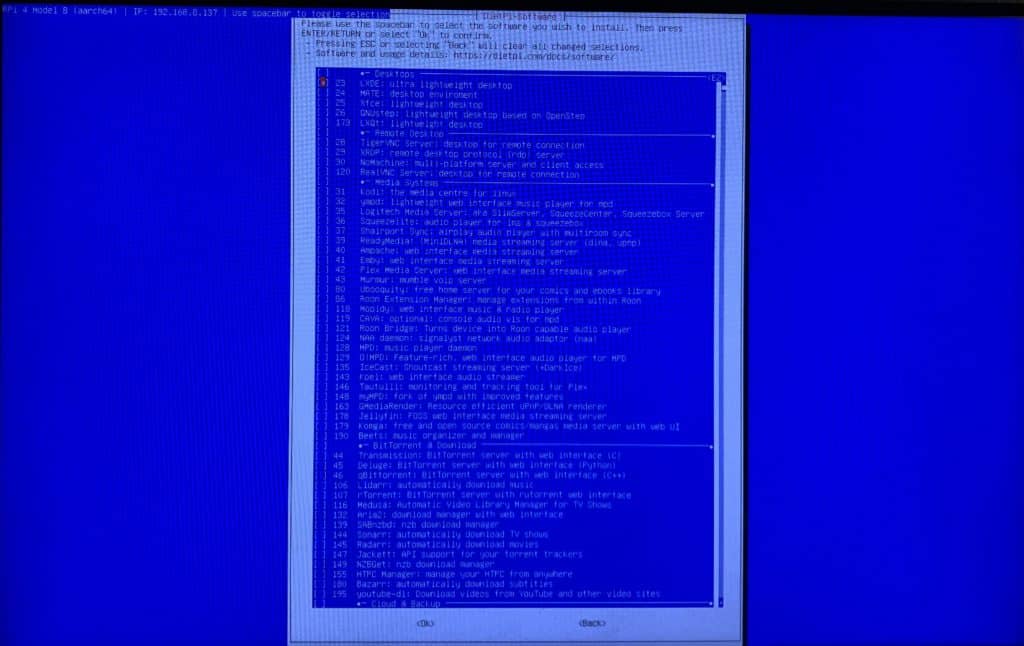
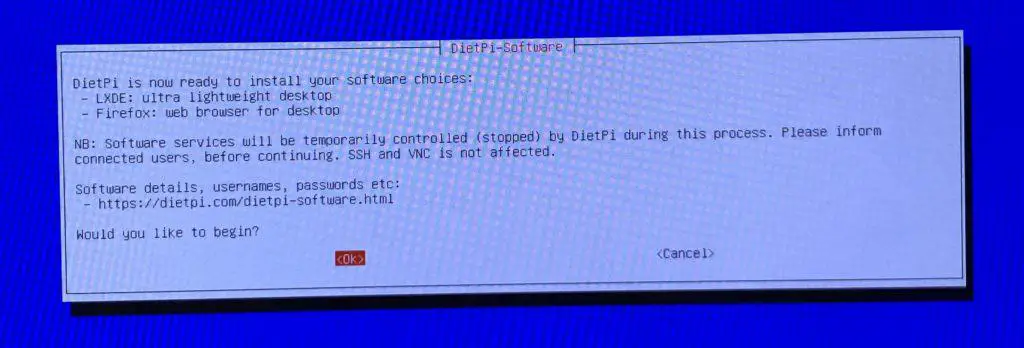
Next up – software selection. I’m going to leave that for later, so just hit ‘Install’ or ‘OK’ to continue.
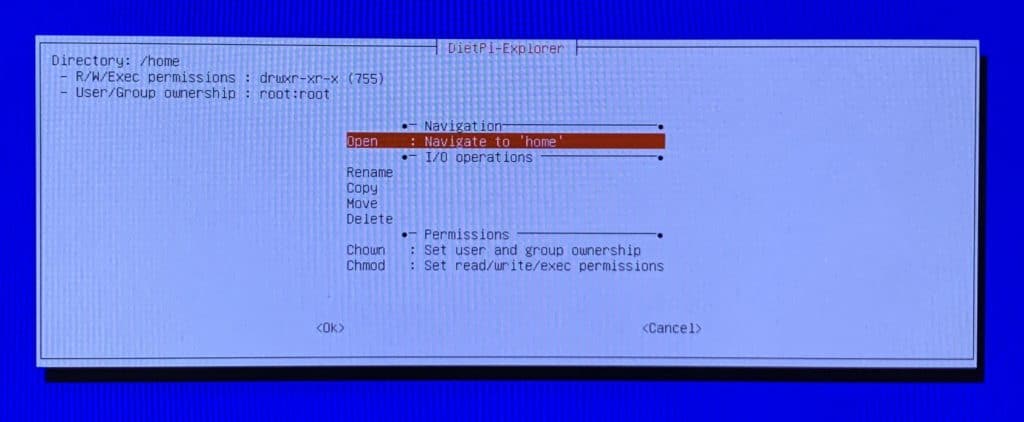
The file explorer allows you to navigate the filesystem via a series of menus. I didn’t find it that useful.
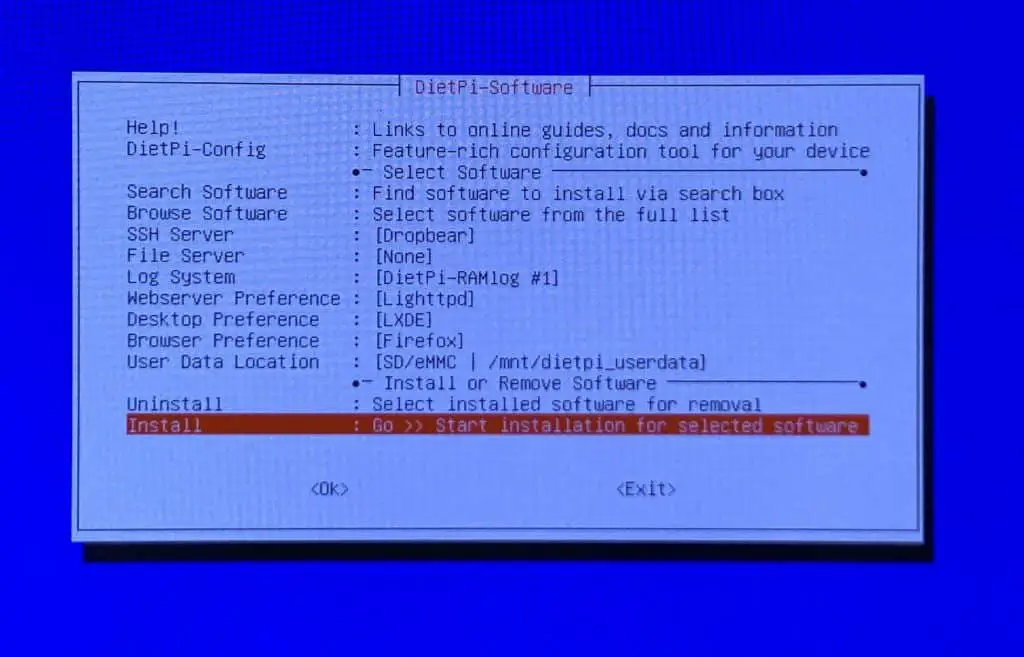
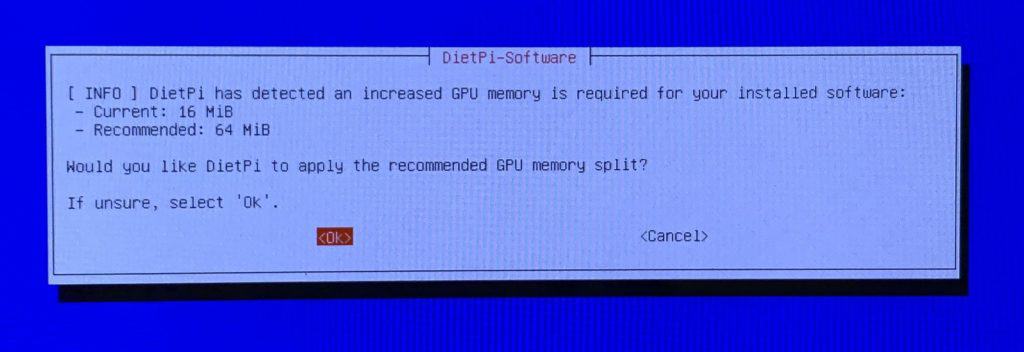
New software has been selected, and can be installed from the software menu after being selected from ‘Browse Software’ (shown above).

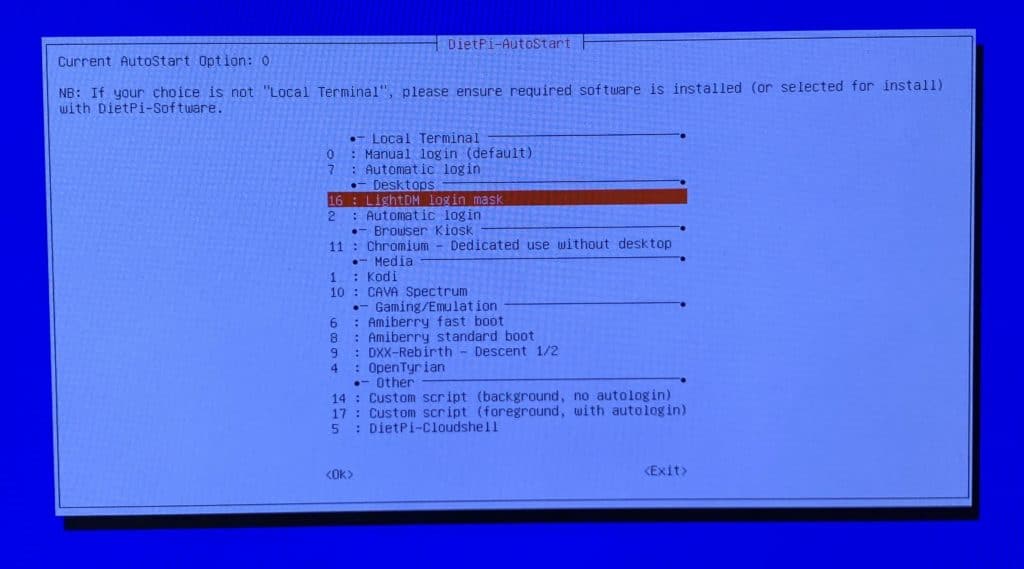
I opted to configure DietPi-Autostart – I want my desktop to load automatically when I power up the Raspberry Pi.
And there it is! DietPi OS for Raspberry Pi is installed!
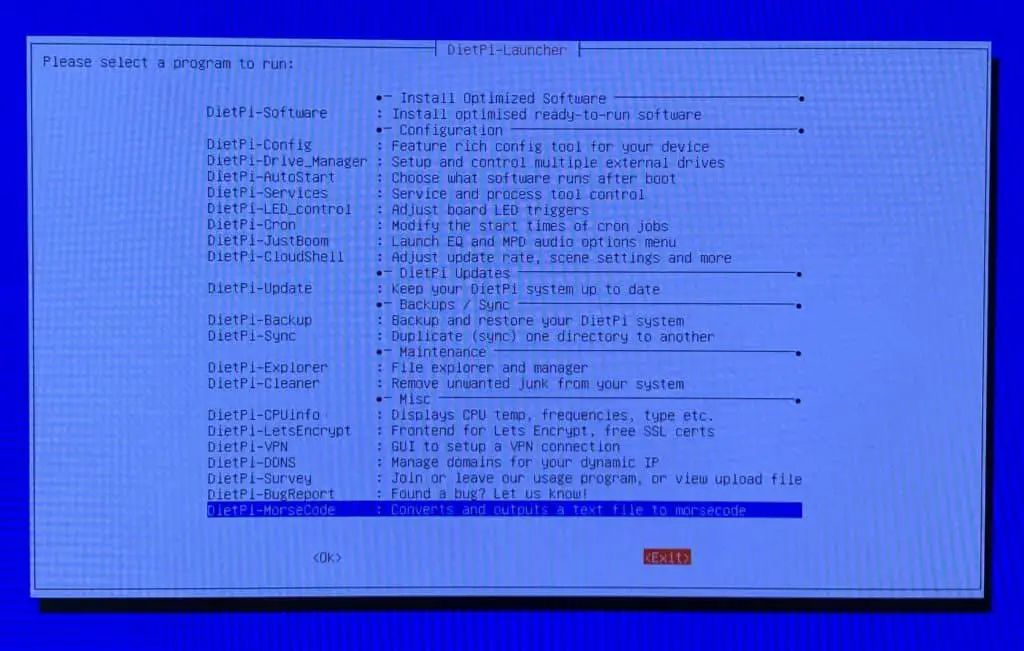
From here on out, it’s a fairly normal Linux desktop experience – all of the DietPi console tools are available, and you can add whatever software you want.
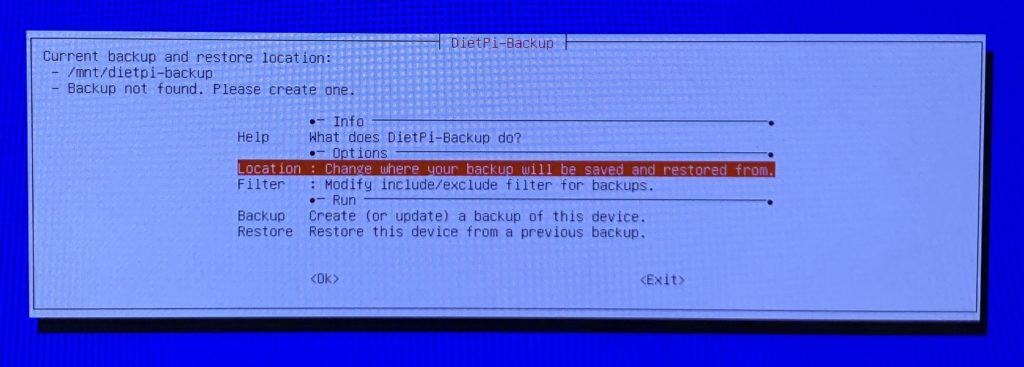
And there are a lot of console tools – I’ve only looked at the software installation and backup tools, there is a lot more stuff in there (including the before mentioned Morse code tools).
DietPi OS is definitely different to Raspberry Pi OS – but whether it is better or not will depend on how you’re using it. There are a lot of cool tools included, but running a system which isn’t as widely covered by support forums and articles may prove irksome if something goes wrong.
View the original article from LinuxScrew here: DietPi – A lightweight Raspberry Pi OS Alternative
